Here is how I usually built quick and solid cabinetry for my needs.

The garage as bought, a blank canvas.

The plan as I saw it.
You may noticed I had plans for a 6 foot bench, but I ended up with 4, yap, I used what I had available :-)The cabinets are made from sheets of MDF, I ordered 1/2 in but they delivered 3/4 instead, for the same price, oh well. It just made them that much more heavy and sturdy. But I'm sure 1/2 would be fine.

Rabbets and dadoes construction. Notice the clamp blocks, very handy for square assemblies.

How to extend the reach of pipe clamps for squaring assembly.
Back is rabbeted in

Bottom cabinets details. U shaped rabbeted MDF pieces with solid wood pieces, corner blocks for fastening top.
One big consideration in a garage is the possibility of water on the floor, either from car, floods (we had tons of snow in Bagotville) and I had a sink in there.

Typical snow load on the garage in the winter in Bagotville Qc.
MDF and water do not mix well, so I either hangs them from the wall with French cleats or made them to stands off the floor with adjustable footings. Nothing fancy just a piece of 2x4, thread coupler and a large stove bolt. The large rounded head makes it easier to adjust on the floor to make the cabinets levels. I have found these to be very heavy duty and used them everywhere I need adjustable foot.


Drill a hole, cut in the hexagonal shape of the coupler, epoxy in. Leave coupler sticking out a bit to be able to put a wrench on it to hold it while cranking the bolt head.

The counter top is made up of 2 pieces of 3/4 Birch plywood, glued & screwed together. Remove the screws when dried.

The back panel frame ship lapped construction for the Pegboard.

Starting to take shape. Counter top has a hardwood piece on front and a replaceable piece of 1/4 Masonite on top.
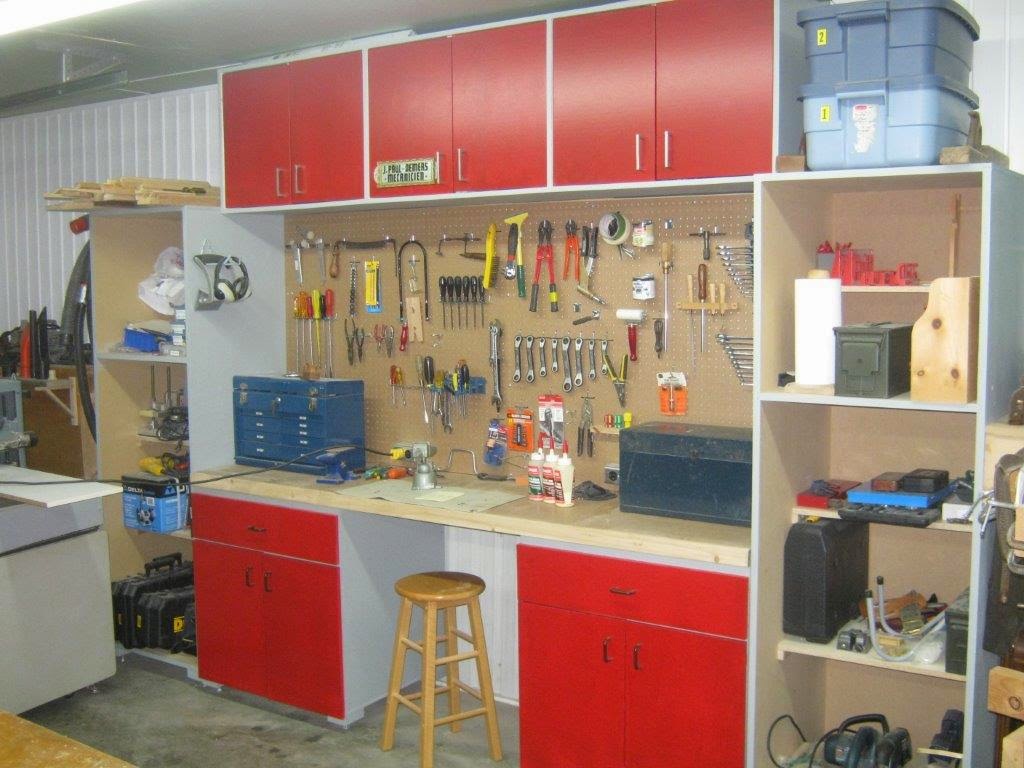
Almost done, I would later add a piece under the top cabinets to re-enforce them, they were sagging a bit and it served as a valence for the light I added in. Doors would also be added.
This is how I quickly built these and in case you wonder, they were sold with the house. I kept the various holders, but all the cabinetry built for this garage stayed. All these cabinets are screwed together, makes for a very solid assembly and I can wash the floor without worrying about them.
You could also built them with plywood and uses the same construction techniques, rabbet, dadoes, glued & screwed. I choose MDF because it gives a better surface finished, paint very well and it is a bit cheaper. This cabinet's combination is one I have used twice so far and I am planning a variation of it in my current garage. Quick & easy and good looking, what more could you ask of garage cabinetry :-)
The combinations of locked in metal hangers and custom wooden holders make pegboard a good solution for customizing wall storage. I will show you how on a further post.
Bob, the builder
Hi Bob,
ReplyDeleteGreat tip on the cabinet leveler feet. Now comes the big question on MDF. You said this was the second time - did you have any problems with screws working loose or any of the joints coming undone? My one experience with an MDF cabinet was my last one too as I had both of these problems.
I noticed that you installed drawer guides - mine didn't last 6 months of normal use.
Hi Ralph
ReplyDeleteNo havent encountered fasteners failures in MDF, but I glue & screw everything, and used a special threads for MDF. Forgot the name but IIRC Spax is a name that rings a bell? As for the sliders, since they wont come off, i just put a dab of glue before driving them in. The problem you had was it with a shop built or a commercial one?
Bob
Oh and one last i forgot, I always predrill & countersink before driving my screws
ReplyDeleteBob
It was a shop built. The screws pulled out of the MDF. The weight of the drawer was too much for the MDF to bear.
ReplyDeleteI have only used MDF twice - once for a hsop cabinet which failed. I used it once for a credenza style cabinet as the bottom shelf and that one is still ok. No sagging because I added extra cross rails as support.
Bummer. I always seems to overbuilt everything, or so I'm told sometimes :-)
ReplyDeleteThere are no doubt various quality of MDFs but I suspect the screws threads and pre drilling makes all the differences?? I my last 2 houses I also started to put pull outs in all my kitchens bottom cabinets, some had the slides kick out by using MDF blocks to clear the frame. They got pretty well loaded and no failures. Knock on saw dust :-)
Bob
Love seeing the step-by-step process! The way you built sturdy, functional cabinets while adapting to materials and space is impressive. It really shows how custom garage cabinetry from Knudson Cabinetry can combine durability and practicality for any workspace.
ReplyDelete