Funny, you would had thought that in retirement, you could have all the time in the world to yourself so that you could do anything you ever wanted to do, now, but....Ah yes, there is that little thing called life, and it waits for no one. So buckle up and enjoy the ride :-)
The view from my favorite chair, but we are getting ahead of ourselves...
We have been getting quite a few frost warnings recently, so almost every nite that means covering plants and etc. hoping to get to harvest it one last times before the frost gets it.
We did not quite got the tomatoes in time, they froze and had to harvest them green and make chow with whichever ones could be salvaged
Carrots are so lazy, they won't grow tall if the soil under them is too hard :-)
Talking of freeze, it was about time to turn back on my furnace. Last year it was ridiculously expensive to run and it was very noisy. It was never drained properly after two previous repairs, getting worse and worse. Big air bubble somewhere, not very efficient :-(
A good friend of ours who happened to be knowledgeable on HVAC, boilers, gas fitter and etc came to have a look at my system. After cursing whomever put this thing together not in the best form, he proceed to drain every branch's of my system thoroughly. Then shown me how to do it.
Work quietly like a charm and I am sure it would be much cheaper this season, Thanks Neil!!
I am now the Vice President of my local Rotary International club, in Middleton. It's a learning curve but very interesting. keep me busy for sure. Then there are two other clubs which I am secretaries and others which I am just an ordinary member thank you very much, I am a tad busy...
This past Week End it was Thanksgiving in Canada. (in the US it was Columbus day, they celebrated Thanksgiving later).
That meant, the usual annual ritual of regluing vintage factories' built chairs, which fall apart every season with our dry/humid cycle. New fangled flat pack chairs assembled with an Allen key don't fare much better, keep those keys around!!!
One of these days, the plan was always to make my own, hence why I endure this annual ritual of chair fixing. If only I found the time :-)
This year I gave them a further disassembly and re-glued most joints, should hold better than last year minimal glue ups.
They pretty well always opened up at the round mortise/tenon or dowels
The corner screw blocks are falling off, they have some remnants of glue on them
That is an offset turned tenon, and not a dowel.
Good thing or it would not be very strong.
My repaired chairs production for one nite.
Others await in clamps. Next a temporary table extension board
For Thanksgiving my son Matt came over and we worked on another version of a laptop board for him.
At his last visit we cobbled together a prototype with a few adjustment (width of legs) to get a feel of the design idea.
He decided to ditch the legs idea and simply make a flat board, with spacing under the lap top for ventilation. We also reduced the overall size of the board compared to the first prototype.
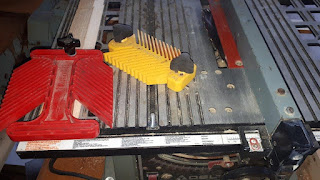
After reviewing his new design we went looking around my shop for a few suitable wood scraps to built it. I wanted to make sure he had a finish product to take back with him, so in order to go faster, we went to the base hobby shop to rip our pieces to width and crosscut the long pieces to rough length. The smaller ones for creating the open grid were all cut using a stop block and we made a spacer block for ensuring an even spacing at glue up.
After about half an hour of work we had a start to our glue ups.
Glue ups are started. We proceed in sections to have
an easier time ensuring the proper spacings later on.
Saturday, after supper we went back to the shop and assembled all the sub-assemblies together for the final glue up.
We used a variety of coloured woods, Walnut, Padouk, Mahogany. These being thicker than my long pieces (Oak, Pine, Maple) it was easy to ensure they all line up using a square. Having used a spacer to previously glued the spacers we ended up with a straight line... on the inside.
Next morning, as soon as he got up at the crack of 10, we went back to plane, sand and crosscut it to size.
After planning it
Then ran thru the drum sander, cross cut using the sliding crosscut table,
We then decided to cut the outside corners round on the disk sander and relieved the front edge.
The spacer block we used is seen in the background
Then back home with plenty of time for the rest of the family to arrived.
Rudy has the visit of his girl friend Diva, Jean's mother poodle.
After diner and most of the guest left, I put on the finishing touches on Matthew's lap board.
Cut and installed the upper spacer to retain the lap top in place. Gave it a good sanding all over, broke the sharp edges to ensure it is comfortable (a complaint with the prototype :-)
And he had a finish product to take back home with him.
Sized for his lap top, with a bigger space on the right for the mouse.
The open grid is to improve air flow and reduce heat build up.
Would that work? That would be our bright way of thinking anyway :-)
Woods used are from T-B
Oak, Walnut, Pine, Mahogany, Curly Maple, Padouk, Pine, Walnut and Oak
In between all that, I had Matt fixed some issues I was having with my PC. Following my recent crash, he rebuild my system with SSD drives but I no longer have access to Microsuck Office suite.
Don't feel like ponying up the $$ for new version and dislike Win 10 anyway, so...
He got me going on compatible Freeware (Thunderbird, Apache, Open Office etc.)
It works and it open my older MS files, but there are of course small glitches with some of my more elaborate Excel contraption's. (I know, using a DB would be easier, but...:-)
Some days I feel like ditching PC and going over the MAC World, but I hate their monopolistic tendencies and would lose my son's PC knowhow and support. Linux? Getting too old to learn new tricks. Maybe I should just dust off my old Commodore 64 :-)
With this project out of the way, I was reminded that I am supposed to work on her sister project.
A small hall table for their house.
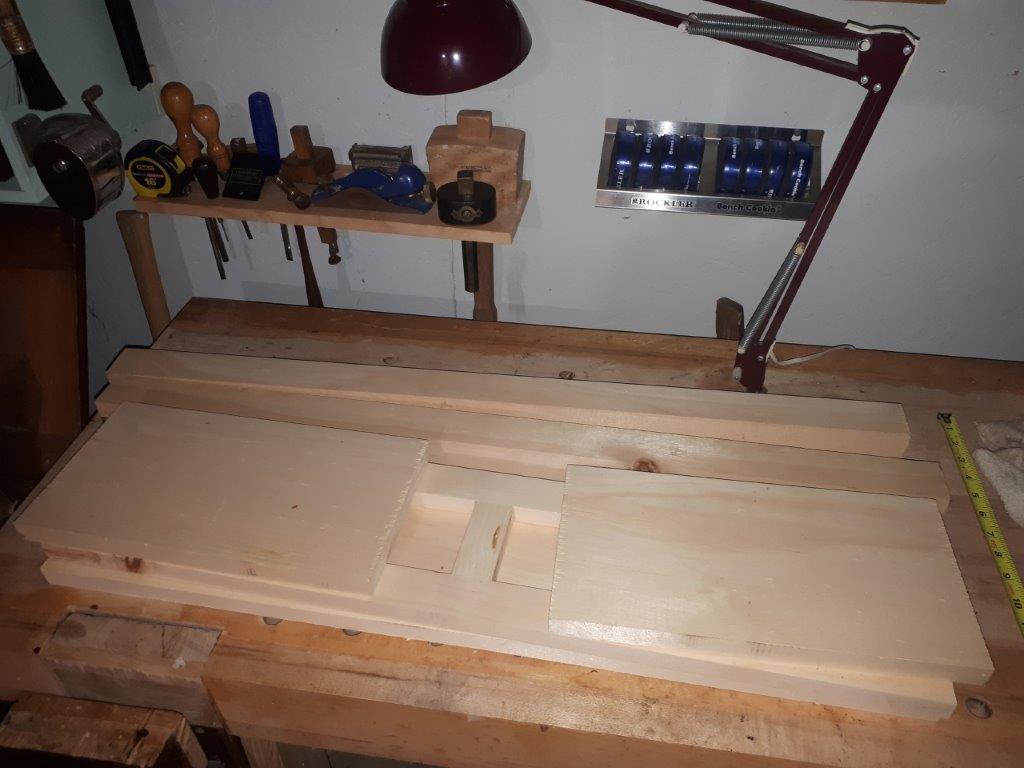
A while back, got the idea sketched, figured out the dimensions and got the wood.
Its been cut to rough sizes and acclimating in the living room for a little while.
Lets just say, it is safe to say, it is acclimated to its new surrounding, time for the next phase :-)
But of course, before I can get to it, I need to make room in the shop on my bench which meant clearing out the top.
One of the thing on it was
that small collector's spoon rack which I thought could make a great bit holder till. But I also thought that the spacing could be better and I should make a new one with custom holders because the ones on it are too small for my bits shanks and bla bla.
Well at that rate it may be a while, so why not just recycled the damn thing now instead of building a better one??
Start to cut each holder spots to fit the bits
Then screw to the wall, loaded with some of my brace bits
Does the job, why wait any longer??
Tempus Fugit
It is located off from the boring till because of the necessity
of hitting the studs for my screws (2). Now what to do with the remaining space?
Found a pack of NOS Stanley brackets, complete with screws to put it up.
And similarly, it is located to hit the studs
Then I decided I need a place to store nearby my panel gauge. So looked for a suitable piece of scrap wood and made a quick holder to add on the side of my boring till.
Drilled a hole, well, more like chew a hole using a center bit
which is in bad need of a tune up :-)
Reduced the size to width to fit between the drill bit till and the boring till.
Then traced a complementary silhouette of the gage head
Cut using my hand cranked Delta Boy's saw
Before cutting the other side, cleaned and lubricated it
Done
Quick work with a spoke shave and a rat tail rasp
The panel gauge in its new location.
Starting to look like a shop again, progress, slow progress
Which bring us to the present time, the pieces for her sister hall table are now resting on my bench and would soon becomes the promised object :-) A suivre.
Meanwhile, I am still finding more stuff to add to my draft on moulding planes, I"ll get to it eventually.
Oh and the yard, and the grand kids, Rudy, Jean and, and… Where do the time go in retirement?
It's one of life mystery … :-)
Bob, time challenged but loving it