Full disclosure, I used my bandsaw. But it was unplugged the whole time :-)
Yes Ralph, I used my nail cutter to cut it :-)

I used a Sharpie, easier to see than a pencil line.
Yes, I know I said previously that I was going to cut my joinery before cutting my profile, but it is a chicken and eggs things, and the chicks won.
My profiles still need to be cleaned up BEFORE I assemble the carcass.

Making sure both pieces are lined up by the dado,
I used rasp, spokeshaves and sand paper to smooth the profiles.
Here's a little explanation on why I opted for that mortise joinery. For quite a while now (2000) there has been a plan circulating for a Galoot's saw till which has the wrong type of joinery in the back, using dovetail in a cross grain configuration. Every so often it comes up in WW group forum's discussion and people have been saying don't do that and bla bla. But for some reasons, it is still out there and it is still going around.
I suppose having been published by no less than Popular Woodworking, gives it some respectability, but, I agreed with its detractors, not a good joinery option.

One big fat dovetail would have been stronger and if reinforced with a screw practically bulletproof. That's what I did on the big plane till at the top.
You can read about it here where it recently resurfaced, and make up your own conclusion etc.
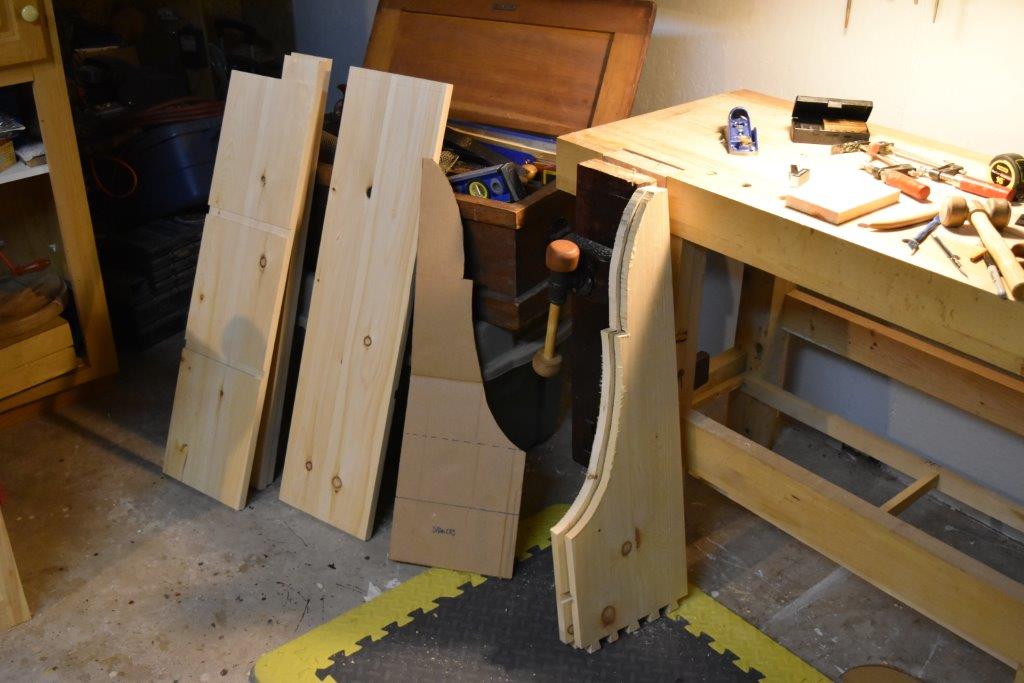
You can also see why I went for a nicer profile with ellipse, I like it better, but it is strictly a personal taste issue.
That mean, I will need to make some small wedges in a contrasting colour (again, just because :-). Does not have to be a different wood species, But I like the look. And in this case, it would be painted over anyway, so...lets not go too crazy here!
I must do the thru mortise before I cut my 1/2 in rabbet, since part of its wall would be flush with the rabbet, I want to keep as much strength on the wall while I cut the mortise. But if you are gentle, and want to chance it the other way around, who am I to stop you?? :-)
There are many ways to cut a mortise by hand;
You could use a brace and a bit to waste most of the area, then pare the wall down with a chisel, or
You could use a mortise chisel, either a sash type or a pigstick mortiser, or
You can simply use a regular bevel edge chisel (BE), just don't pry too much with it, it does not have the rigidity of a dedicated mortiser chisel.
I am doing mine with a regular BE chisel of the same width, 1/2 in, as my required mortise.
And since that would be a punishing operation on my chisel edge, I will first give it a small secondary bevel to strengthen the edge. I really appreciate having a dedicated place to touch up my chisels and knife :-)
I can start the layout for the thru mortise.
Similar to dovetails cleanup with the chisel, I will approach the outside walls from both sides, instead of trying to cut all the way thru from one side. You end up with less chances of damages at the outside mortise edges (spelching). But it also means that you have to be precise with your layout markings.

Ensuring the dadoes are lined up, it is easy to make precises markings on both pieces.
By making sure I mark at the edge of the pieces, it is easy to transfer accurately my markings
using knife and square, followed by marking gauge.
Since that mortising operation will require numerous repetitive cuts, I like to establish first some sort of registration face for my chisel. Much easier than trying to line up properly your chisel each time. Especially with my triple focal's glasses :-)
To do that you can set up a simple fence, or in my case, I simply excavate a shallow recess the dimension of my finished mortise. My chisel then simply falls in the "hole", ensuring perfect registration without looking :-)

I do that for both sides of both mortises, using a knife and a 1/2 chisel.

Starting in the middle, I excavate a wedge, then pointing my bevel edge in my direction of travel
I go at it until I reach close to the end wall, flip the bevel around and go straight down.
Then repeat in the other direction from the center cavity.
The rabbet can now be cut.
The choices are many here. I could cut the wall with a saw or a knife and use a chisel to waste the most of it, and finish with the chisel or with a router plane.
But since we are doing a rabbet, lets use a rabbet or moving fillister plane to do it
To start a molding plane ( Rabbet is a joinery plane cutting a "moulding"), start at the end and work backward. That way the plane has always a "rut" to keep it straight.
And as usual, I set the fence and depth stop (suggester) using my setting blocks. The less you try to interpreted measurements, the less errors possible. Leave that tape measure in your pocket or put it away. I'm cutting a 1/4 in deep rabbet, 1/2 in wide. Trust me, it is a lot easier to set up a fence on a plane like this than setting up a stack dado to do that job. Meaning also faster!

Fine tuning and testing my settings.

I also tweak my repair in the dado that was too deep.
My two side pieces joinery is now completed

Next part we cut the matching tenons. I also decided that my back rails will be recut to 3 in wide, they are currently at 4 in. Purely for aesthetic reasons and to reduced the size of my mortise, I would have had to split my tenons in two otherwise, or I would have ended up with a large tenon.
Bob, the Galoot
I wonder how many broke putting it together? I tried something like in pine and broke almost every one of them on the first trial fit. Maybe oak would hold up better due to it being a hardwood.
ReplyDeleteI don't know but there are quite a few horror stories of them breaking hence all the on line discussions about that dumb design (cross grain dovetail). I'm surprised it is still making the round...
ReplyDeleteGoes to show, It is always a good idea to research before building something.
Bob, who should have the tenons done today??