Saturday, October 28, 2017

Footprint Model 170 brace

Another fresh find, this one is practically unused and in NOS (New Old Stock) condition, well almost...

Its from the seasonal flea market in Wilmot, same vendor from whom I  have been getting some good braces and Hand drills lately. Including that mechanical marvel, the North Bros 1545, I sent to Gerhard. When I see her, now I just ask her what she got for tools and she shows me stuff she has not unpacked yet, for lack of space. I guess you can say, I get 1st dibs  :-)

Today, when she shown me this brace, I was immediately taken aback how new it looked, yet, it is well made in the older tradition. No plastic, all metal, plated with wood (Beech, no stain, varnished), ball bearings in the head, ink markings almost perfect etc. For $20? Did not even bothered haggling for it, take my money please.

See anything wrong yet?

Footprint
Sheffield
England

Footprint ratchet brace
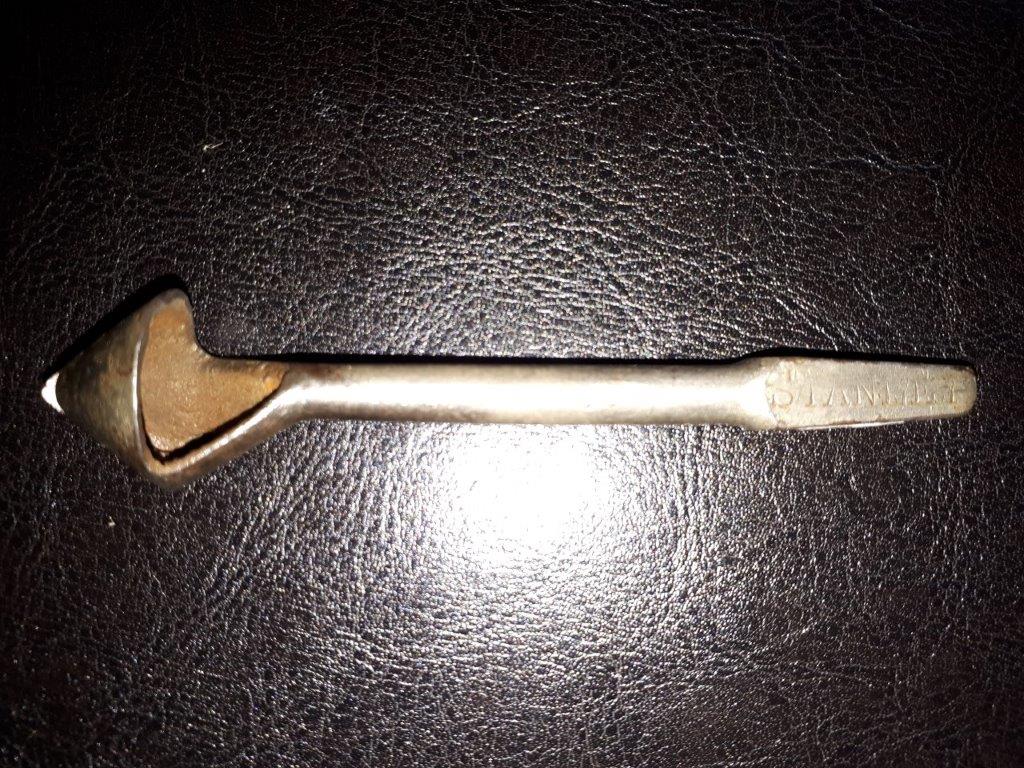
No 170
10 in sweep
BS1978

NO, that brace is not dated 1978, it reads British Standard (BS) 1978.
This just happened to be the BS for Hand Brace. The BS1978-1953 was later replaced by BS1978-1965 which is still current. That brace was more than likely made after 1965, still under that last edition of this standard.

With the old masking tape removed

wiped off with GOOGOO GONE.
It stink, but it is very efficient.
There is a faint discoloration under the tape, 
it's been there for a while. It will gradually dissapeared under the UVs


The ratchet mechanism look pristine and work like a charm.
Good strong springs on the jaws

By now, you would be thinking, it's perfect right?  I wrote about this before, but in the hunt for tools, we often overlook glaring defects or omissions, while being mesmerized by what you just found, you quickly develop selective blindness...

See it yet?

Huh? What is that gap??

What? I need a common and a Robertson Red screwdriver??
Obviously a prior Canadian Mod...

The plate is wavy, that is why the gap.
Notice the wrong size Robertson screw of the wrong type.
Its a tapered woodscrew versus a flat head commun slot screw

Not the first time removed for sure.

Now, this oversize Robertson wood screw and the gappy head were pretty glaringly obvious, how did I missed that ? All too easily :-) 

So off to the stores I go to find some suitable screws.
Kinda got some, but not surprisingly, all the screws were Robertson heads... or were they... The UPC shows up when scanned as SQ-DR Argggg American inferior copies of Robertson being flogged upon an unsuspecting public....S.O.B

Anyway, for now all I have are a bunch of woodscrews with the right head but Robertson Green (?) versus slots, oh well, at least it is not so glaring anymore.
I'll keep looking, must have some, somewhere....

Hoh, and I flaten the platen. It was wavy allright. I simply squezzed it in a metal vice, line with a folded sheet of paper to protect the plated finish and rotate, squezze, rotate squezze etc until a lot more flat...

Removed screw, besides.
Now plate seat flush all around

The Footprint tools that we still know today, started with a merger in 1968, using that familiar footprint symbol. The company goes as far back as 1760 under the name Alfred Ridge & Sons. They are I believe one of the few remaining old Sheffield hand tools makers.

From the company website

All in all, this is a solid brace, practically unused and pristine except for a glaring booboo under the head, well worth the asking price. That one will probably go to one of my son's toolkit.
I better start making the tool boxes soon...
But thankfully, they each have a finite number of my Ahem, essential toolkit :-)

Bob, the blind tool hunter

Wednesday, October 25, 2017

Wooden braces

It took me a long time to acquired my first one, a Sheffield plated brace, from Ebay back in the days...

Lately, they seems to pop up more often in my local searches, go figure...!!!
I wrote earlier about the development of the brace, here

I only made provision for one wooden brace in my ongoing Boring till, but I now own 4.

All lined up to give you an idea of relative sizes

The first one to arrived about 15 years ago, via EBay, was this Sheffield plated brace manufactured by Abbot.


It feature the button chuck, which relies on a notch cut on one side
 of the tapered square tang of the brace bit.

Next was another local finds, last year, while out buying handsaws, responding on a Kijiji sale... When I asked if he had anything else, this is what I spotted.
This one was manufactured by Barton


Also featuring the ubiquitous button holder.
Since there was no real standard, the location of the notch required varies.
In this pic, the bit inserted does not goes deep enough.

Then came across this bit pad unmarked drill.


It uses the familiar clothes pins, spring pad, 
which are Missing In Action on this one :-(

Would have to try making some, some day.

So called because of their ressemblance to the 
older traditional wooden clothes pins.
Pic from Etsy

Similar braces also are seen with a simpler tapered interference fit pad, no spring.
That work fine while drilling, putting pressure on it, but if the bit get stuck, it would pop out from the brace, hence why someone came up with those clothes pins springs.

And more recently, this past Monday actually, came across this unmarked chairmaker brace. So called because they used spoon bits, the prefered chairmaker boring bits. The bit is a tad bent, but when I tried it, it cut a nice round hole, will not try to straighten it and risk breaking it...

The hole it drilled effortlessly thru cherry.
With the added rim being countersunk by a Stanley No 18 bit.
Both cut surfaces as is from the existing, unretouched, cutting edges.
A testament to the robutness of this design, 
"protecting" the cutting edges this long.

This style of "Chairmaker's braces" were prefered by the chair makers who only used a few sizes of holes, and could get by with 2 or 3 of those braces. The bit being permanently attached, it is always ready to go. That style lingered on for a long time after it came and went.


Sized just right for the delicate spindles 
of a Windsor chair for example

These last two came up during my regular bread runs to Bridgetown. I love the white bread made by a small bakery there (Graves), well worth the run. And since Bridgetown is already, roughly, half way to Annapolis Royal, I often goes there for my tools...err I meant chocolate runs at my favorite little shop. They have home made chocolate, a used books section and some antiques, with a small section devoted strictly to tools. Perfect business formula for me, it hits all my buttons... Oh and Jean and I like the chocolate also and Rudy comes along for his daily car rides :-)

And I guess that makes me a regular customer... :-)

Bob, bracing for a shortage of room in my upcoming boring till...
Humm I think I need a bigger wall :-)

Tuesday, October 24, 2017

Useful Stanley's accessories brace bits

My draft entry for the boring till tool holder is awaiting me actually finishing them holders... Too many distractions right now :-)

So instead here is a post on some tools that recently "Followed me home" Tm :-)

You know, I just had to play with them... These tests were with the tools as found, I did not touched up the cutting edges (but I will later)

But first, lets introduce the tools in questions:

The bits

From T-B
Stanley No 22 Dowel sharpener, and 
Stanley No 18 Countersink

STANLEY No 18 Countersink, brace bit, nickel plated.

This countersink design features an hollow head and a cutting lip formed by a cut after the casting.


Hard to see, but the inside of the bowl has 
a pretty rough casting surface left

Cutting edge being formed by a single cut

In order for it to work, that cutting edge must 
protude slightly from the other side of the cut.
There is evidence of file work on that side to lower the edge.
The cutting lip, thus made is sticking out slightly.

This results in a shaving action rather than a scraping action as typical of most countersinks models. The end results are a lot more smooth surface left without ragged tear outs.

This particular bit was manufactured by Stanley 1872-1933


But it was first produced by GB Wheeler.  US Patent 101796 was assigned to Asa Wheeler on Apr 12th 1870. This design was first produced by GB Wheeler and then Stanley.  

Hence the earlier models are stamped G.B. WHEELER, 
then later on Stanley in various scripts


G.B. WHEELER, and 
PAT'D APR 12 1870
These 3 pics from EBay


 When did the change over took place? I have yet to found out...
Somewhere between 1909-1914. If anyone knows, please chimes in.

The 1909 catalog shows only the Wheeler countersink, and the 1914 shows the Stanley Nos.

It does shows up in the Stanley cat No 34 of 1914 (LAP reproduction)

Notice there are 4 numbers?

These countersinks are showing as No 18, 20, 23, 24
The differences?
No 18 is Nickel plated
No 20 is same thing with the addition of a depth gauge

No 21 not listed
No 22 is the dowel sharpener will see next.

No 23 same as 18 except finish is "black forging"or blued steel
No 24 same as 20 except finish is "black forging"or blued steel


In the Melhuish catalog of 1925.
Notice the improved pattern:
Double lip countersink


So how does it work?

Well first we need some sort of hole, in order to countersink it...

Will be using this chairnaker brace with a fixed spoon bit 

The throw is about 2-1/2 inch (5 in sweep)

The bit is a tad more than 1/4 in 

Cut effortlessly in cherry wood.
Notice how the piece is secured down? Good glue joints :-)

  
Nice chips, shaped like a ball 

Did a pretty good , clean hole

Finally, we can use the countersink...
Work pretty clean also...

Now lets try the No 22 Dowel sharpener

Manufactured between 1892 to 1953.
Was changed to a round shank in 1953, for uses in electric drills


Work like a pencil sharpener

Does a pretty good job, as is. Both could be improved somewhat by a quick sharpening. In both cases, we only have to file the cutting lip.

There you have it, two very useful additions to any brace bits arsenal.

 Bob, who managed a quick trip in the shop in between everything else...

Thursday, October 19, 2017

Putting the gardens to bed for the season

We are experiencing some strange weather, not our usual fall weather for sure. We still have the occasional mid 20s C temps then frost warnings at nite...
Will you please make up your mind Mother nature already....

You can just make up the dead brown tomatoes plants 
outside the protective dome on the left handside behind Rudy.
In case you ever wondered, it sure works, 
look at the greenery still inside the dome.
There are three big green tomatoes inside turning yellow

The furnace is back on, the remaining vegetables still producing are covered at nite and sometimes until noon or so. The remainders have all been harvested and cleaned up.

Only celery left in the brown two tier raised garden.
Was harvested soon after.

We are done with the cucumbers, but still are harvesting tomatoes, bell green peppers, celery and some spices.
Will see how long we can extend our growing season using covers.

With everyting gone, cover has been relocated

It now protect a remaining producing 
tomatoes plant and some herbs

Rudy sporting his new fall jacket.
With the fast changing temperatures, he is wearing layering clothes

It is also time to removed the various plant bulbs from the ground and protect them over the winter.

She had Canna plants here and there, 
they sure did not like the cold...
Yes, I got my shovels out and the snow blower is back inside the garage :-)

So out they come...

Would be trimmed out and the bulbs wrapped in paper and put inside.

 All in all it was a good growing season, now we will experiment over the winter to sart some plants from seeds inside, using lighted plant stands and heating mats.  The idea being to get a jump start in the next season.

Straw will be put over the strawberries plants 

Yes, its getting cold Dad, but not to worry, 
I rearranged the chairs covers...

So far, I am very happy with these brown raised gardens. They used the same sort of "plastic" used for decking plank. Strong and maintenance free. Also can be assembled in various configurations and expanded as required. Personnally I prefer keeping them at 4 feet square, since there is a lot of available covers and accessories in that size. I also found it easier to tend to the garden all around. Reccomended. About Cdn $70 each kit (one tier). Will be buying more next year.

The white raised garden on the other hand is a bit of a dissapointment.
It is a bit flimsy to assemble and does not stay locked together very well under all the pressure of the dirt and the 10 foot high swaging Canna plants in the strong winds. One side blow out... :-(


Removed for storage and will be fixed next year.

At Cdn $99 it was not a good deal. Mind you got mine on sale for $79 but still... The white plastic is thinner and not as resistant as the thick brown stuff of the others. There are no locking screws, everything just snap together.  Not reccomended. Will probably end up as a flower bed somewhere else on my land next year. Will use metal brackets to screw it together.

October being Fire prevention week, they have Fire Drills at the schools.
Meadow, our grand daughter, was the honorary Fire Chief for the drill at her school.

The Fire Chief arriving to supervise the operation...

The Fire Chief in full kit

And her designated fire crew.
The school and the kids made it through safely :-)

She really enjoyed it, but thought that the kit she wore was pretty warm... She was the only one thinking so, everyone else was frozen.... it was a cold morning :-)

Meanwhile, made more progress on my boring till... Coming up soon

Bob, proud grampa