I recently cleaned and paint them, time to hang them up.

Being cast iron, they are rather heavy, so will need some stout posts. My first inclination was to pour cement footings for the post, but they could still move the post around, not being attached to a fence of some sort. My plan then is to built stout corners braces (2). The main post will be anchor by a super spike (metal spike) and fixed the two side legs with a piece of rebar.
I am using 4X4 pressure treated material. My first bright plan was to assemble the whole thing using mortise and tenons, pegged, but lets get serious, need to get it done fast :-)
I will then used metal strapping fastened to the beams and reinforced the angle piece by a lag screw.

Starting to figured out my bright plan and rounding up some of the hardware I have.
Not enough, will need a run to the store

After a day or so, got my plan pretty well finalized.
Subject to changes without notice :-)
I even tried a mock up with scrap pieces of 2X4 on the kitchen floor.
Yes, she was away at the times, had to remove it after :-)
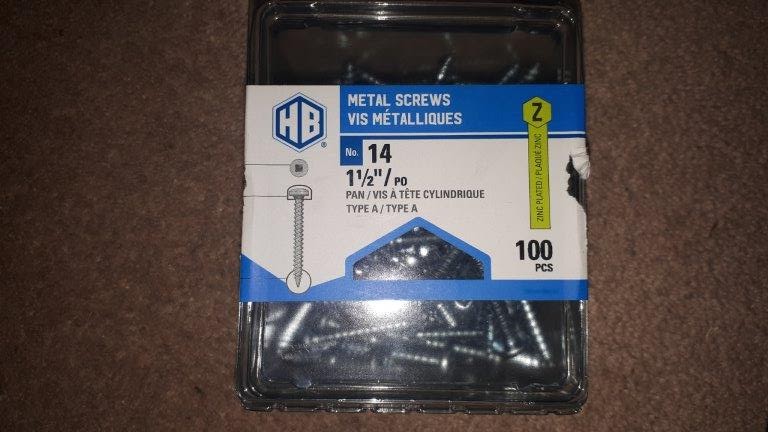
When I first went out, got a box of hundred screws.
Turns out I need 112 and could not find another box anywhere

4 hardware stores later, managed to find three small packs of 6 screws No 14 X 1-1/2 in.
Now got 118. Similarly could not get all my strapping's at one place, took three stores.
Got mostly 6X3/4 straps and a few 6X1 straps

Next day gathered up my supplies and tools

Got two cans of leftover end cuts preservatives, one green, one brown

Made sure to level my saw table to my cutting grid.
Good to go.

The underside.
Of course being a 10 in compound saw, it cannot cut thru a 4X4 post.
Leave one small web at one corner

Which means I have to finish the cuts with a backsaw.
Why a backsaw? Being shorter than a panel saw, easier to maneuver around the chop saw.


Similarly, the 45 cuts leave two webs

Of course, the small cuts have a smaller kerfs
and needs cleaning up.
I used a chisel and a small plane

Did a quick check, it makes a square... on uneven ground

The tools I ended up using.
From T-B Empire (labelled Mastercraft) 48 in level, Swanson Speed square,
Craftsman (Disston) back saw, Stanley 15 ft tape, my favorite German carving knife,
Marples Blue chip chisel, Stanley No 118 steel block plane.
Drop it one two many times on the ground and I finally broke the lever cap :-(
Its replacement has been this Stanley steel block plane, the No 118.
And yes, I long ago got a replacement cap (wrong color) for my No 9-1/4.

A real block plane, constructed of thick steel plates.
Nothing to break, work likes a champ.
This is not a toy. Other versions of this tool by would be competitor are not as good.
And I never worry about dropping it anywhere :-)

My left over from my four eight footers.
A 9 in piece with a 45 and a 68 in long piece with a 45 end
(not shown) That will becomes the post for the garden tool post No 2

Time for a quick break before some dirty work...

Got all my end cuts covered with preservative

Start to stripped all the labels from my metal pieces.
Once all done, soak in GooGone, brushed with a brass brush then wiped clean.

Drying before painting

One side done in Black Gloss rust metal paint.
Done both sides.

Gone all over my PT pieces and filled all the cracks with
Premium PL construction adhesive. The stuff I will use during assembly.
Not for strength, but mostly for waterproofing my joints.
Those little details will make it last longer...

At the end of my work day, I had all my pieces ready for assembly.
All my cuts are straight and flat, should go together smoothly (??) I have some ideas for an assembly jig, to help me keep everything square while fastening my hardware.
But first, must get some straps, stripped and clean them, painted and etc... Sigh!!
Bob, back doodling brighter plans :-)
No comments:
Post a Comment