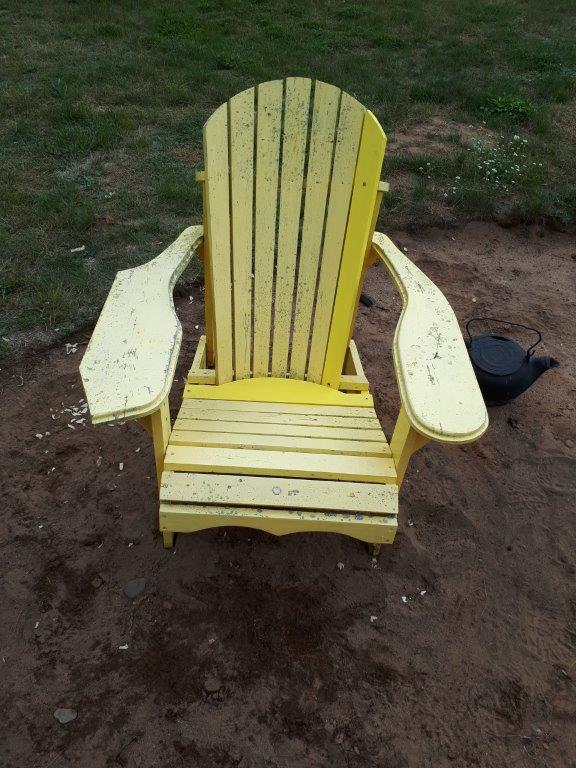
Muskoka chairs are like the Canadian equivalent of the infamous American Adirondack chairs.
The biggest difference? Ours always had the back curved theirs were flat.
So there you go, don't know who were first but ours are better :-)
Having fanned the flames on line, lets look at why it needed repairs.

The bottom board has rotted and broke.
need to make a new one. Used old one to trace new one,
remembering to make each ends longer, were rotted off.

The areas under each ends are rotted also.

This corner board is also rotting.
Was gonna make a patch but too far gone.

Lets carve a new bottom piece with a rip saw, Disston D8.

OK, good enough to move on to chiseling the rest.

After chisel, spokeshave and some sanding,
check for fit.

Still haven't clued in that my ends are tapered, not square.

I even shoot my ends square on the shooting board...Doh!! :-)

Meanwhile started the surgery on the chair frame.
Excavated until I found solid wood.

Splitting pieces to fit

New patches pieces glued in oversized, to be trimmed later.

While that glue set, start ripping my new corner piece.


Some planing at my bench, followed by rough carving the shape.
Oooh that gouge is in need of sharpening :-)

Finished carving it with my chisel, mostly bevel down work.

Test fit, OK.

Transferring the screws holes.

New and old side by side.
Took longer to stop and take pictures than to carved it.

Off to my sophisticated paint booth it went.

Meanwhile test fitting the new bottom part.

Carved new patches areas.

Primed spots

Found the left over paint from its original paint job in 2012, never been opened since.
Its a bit soupy cause I thinned it down for the spray gun.

Mix and work fine.

Painted the primed spots on the chair and gave the two area were vertical end piece
goes in, a good soaking with a liquid wood hardener.
Once dried, covered with yellow paint.
Which about a month after starting, bring us finally to this day, putting the pieces together.

New and old pieces.

I thought I taught of everything still managed to get wrong bits.
Grrrr Square drive and Robertson don't play nice together.
Done.
Yes, I still managed to forget the tapering ends on new bottom piece
and compound angle on top piece is wrong side.
Both will be rectified with a few quick swipe of a block plane in the Spring.
At which point both chairs would be washed and painted different colours.

Calling this one done and siting down for my drink.
Another off list. Next...
Old pieces will be burned
Earlier today also completed earth works around front gate posts.
Done until Spring.
At which time I will paint gate black. Just primer right now.

I am happy on how it turned out.

Still undecided about redoing the front rocks formation,
had to removed one for post installation.

Another day of completed projects,
Done for the day. After supper nite cap.
Bob, done for the day, going over his To do (sometime) list :-)
My father is a fan of these chairs since he saw them here in Canada. Back in France he built two of them,he used recycled wood slats from bed slatted based. A things among others on my endless todo list!
ReplyDeleteLionel, still planning his greenhouse
Hi Lionel
ReplyDeleteYes they are great chairs, but both version can suffer the same design flaw. Making the sitting angle too pronounced making it harder to get up from chair. That one I made (from a flat pack "kit" from Costco), is pretty good. Bought in 2008, they have survived pretting good for 12 years. They are after all just white pine painted.
Why bought?? It was cheaper than building from scratch and was Canadian made.
Bob
Why the funny shape on one arm??
ReplyDeleteThey were orginally designed to be put together as one unit with a flat surface in between. Thaught it was a good idea until I first tried to moved them. Damn near impossible to move together, too flimsy of a connection.
I first reinforced it, but quickly gave up and made them separate.
That implied some mote modifications :-)
Bob
Bob,
ReplyDeleteFrom your photos of your glass topped "work bench" I think you could use a good portable bench. Like a good neighbor I'll be glad to loan you one.
ken
Put some holdfasts in that. It's tempered glass, right?
DeleteGrateful for sharing tthis
ReplyDelete