I have been frankly scratching my bald spot for a while trying to figured out the lever activated return mechanism. Judging by the amount of travel the lever did, there is no way I can see it engaging the spindle gear. Not even close.


But as it is becoming cleaner and cleaner, I can see more small detail like a keyway on the gear shaft.
More cleaning found a matching slot on the gears, Huh.

Managed to rotate the gear, was frozen rusted pretty tight, needed to be shocked back into reality. Lined up with sloping frozen key.
Try lever mechanism again, and omphh, the rods when further than before, the gears meshed, it's working. And bonus, retract when swinging back the lever.


Cool. Now just need a new gear.
Hoping my local millwright can make me a new one. But first I must get it out to bring it to him
Looks like I'll have to take off the down pressure handle to take off the gear shaft besides it connected to the damage gears, to slip the gear out of the fork.


Today bought some supplies. Decided to paint the frame mat black.
Thinking gloss black will look too jarring if I cannot paint every parts without a complete disassembly. Then I'll highlight the lettering with white paint.


Only mystery left is how to take up some of the slack on the drill quill attached to the down pressure wheel. Guessing the big brass nut that joined them up. I do not have a wrench big enough, need 1-3/8 inch size wrench.
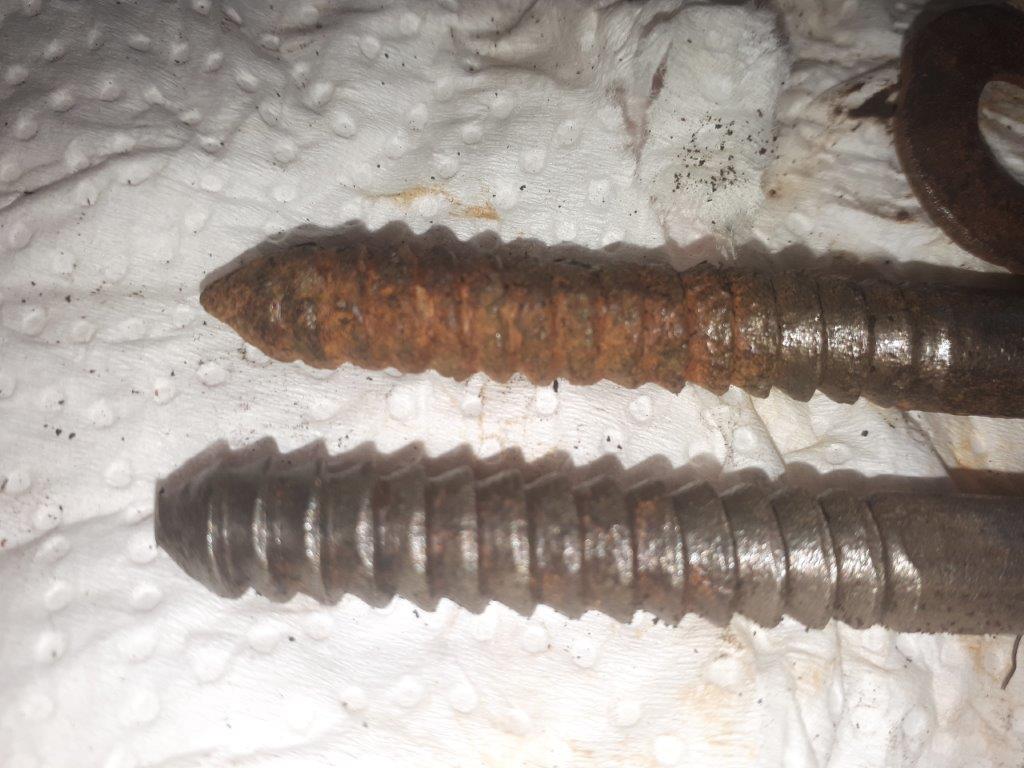
Tomorrow list : Washers for lag bolts, , washer for big bolt, gloves, 1-3/8 wrench
After watching a few videos' on Youtube on similar post drills, came to the conclusion that the flywheel wheel should go off and on a lot easier. May still need a gear puller, but should not required one. shaft must have too much rust bloom on it. Gave it a quick sanding and lube, but not enough apparently.
Tomorrow I have a Rotary business meeting on Zoom, that should take up a lot of my time. That and her brother is coming over to help with her greenhouse. May not get much time on the Post drill, but should get those missing items.
Even with all the parts removed already, some being quite heavy, I am surprised at how much wat is left weigh. Still very heavy.
Bob, who washed his hands a bazillions times already, get some gloves idiot!! :-)
The broken gear looks like a regular spur gear. As long as you match the diametral pitch and number of teeth you should be able to buy one bored to size, with the keyway.
ReplyDeleteI'd probably use through bolts (or threaded rod) rather than lags to secure something that heavy to the post. Although the lags should do. Jim B
ReplyDeleteThanks Steve
ReplyDeleteI was hoping to have one made, never thought I could maybe buy one. But I need to get it out first. Still scratching my bald spot as to how.
Interesting you say that Jim
ReplyDeleteit was attached to th eback board in three locations, both the casting and the end cap for the post. The middle one, bottom of casting, was secured by thru bolts, the other s were lag bolts. Then the whole board drill and all was fasten by three lag bolts to a post. But now I know its only 130 or so pounds. Sound s about right??
What do you think?
Bob
Bob