Been a tad busy, trying to get the next greenhouse up and running beside the old one.
Once it is up, the older one will undergo Depot Level Inspection and Repair (DLIR) :-)
It survived, wind storms, tree falling, winter storms.
But it need some structural repairs.
No 2 is going up to the left of No 1
Yes, she set up one of her small portable greenhouse inside,
which contained the covered warming bed I made.
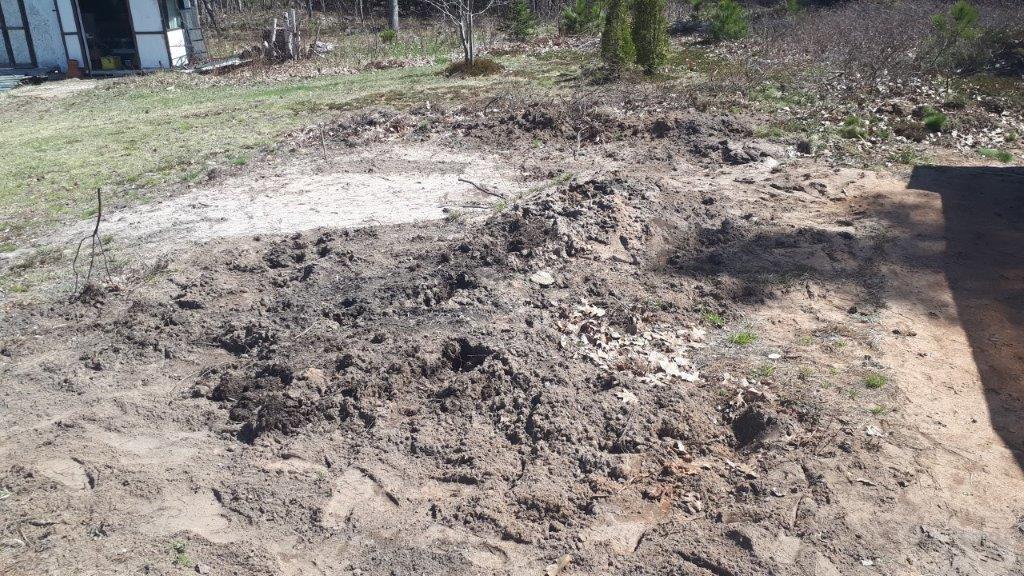
First order of business this Spring was to relocate plants in the way then flatten the spot
Plants in the way, must await relocation.
Plants gone, starting to lower ground
Top soil is removed to the sand layer and spread wherever she wanted it.
When looking at it from the front (pic is from side)
the ground lower from R to L and back to front.
Had to dig down a few inches to find level undisturbed sand.
Got about half of my space flat and level
Meanwhile Jean set up a cooling station beside my work spot.
We were in the middle of a small heat wave, came in handy.
Divide and conquer the reminder, referencing from my level spot in front
Found a tree stump
The footprint of the greenhouse is 10X20 feet, so need to clear a bigger spot all around flat and level.
That means No 2 is sitting lower than the other one, but being a full 8 ft high, is still taller than the other one at 6 ft.
Final check with my electronic water level.
Works on the age old principle that water always seek it own level,
but has circuitry to detect when level and beep, making it a one man operation.
Used it for levelling a friend's pool years ago, still level
But first... Have not used it in eons. I wonder if I remembered to remove the battery??
Humm apparently not!
Good industrial battery, no leak no damages done after more than 22 years.
I'm impressed, but replaced it anyway, works better :-)
But before we could move the frame of the soft skinned shelter it had to be empty. We used it for temporary storage the first year.
In the winter I kept path opened to the shelter and greenhouse
Empty and next was to remove power and security measures
Now that she got a few more plastic sheds to store her tools and supplies, it became possible to empty it. Moving sale finds, so affordable, she got 3 :-)
With the arrival of Spring and numerous projects, the cap is off the truck.
So we can move big objects and take loads of soil, gravel, peat moss etc.
Recognize the one on the left?
Its the one that was hit by the tree. Its sprung back to shape.
It was located behind the metal shed that got flatten and took a hit from the tree.
I saved the panels, hoping to be able to salvaged it later with a heat gun. They spent the winter inside the old shed, it can get pretty hot in there at time. This Spring when we made room in shed to empty the soft shelter found the panels had restored their shape. Tried and lo and behold, went back together fine. Even the damaged corner for the doors still works. I'm impressed. Definitively thermoset plastic :-)
Only damages left from its encounter with a tree is a puncture on top
and damages to the corner. Door still work.
Panel on right is the one that took the hit.
Not much traces left
Once empty shed frame was moved over in two sections.
Set in place, re-attached and pinned down once tighten all the screws...
Ended up with a spare bolt and missing 3 nuts. Could not see where there was a blank hole???
And that is why you cannot see your own typos or missing fasteners. Your brain ignore your eyes and make up its mind. Which is why when errors could jeopardize safety we used Independent Checks (IC), someone not involved with the maintenance action to give it a second sober look and review of procedures used.
Next day found...
3 nuts and one washer to go with my spare bolt.
Finally saw it...
Must have had the sun in my eyes :-)
With the frame in its final location and pined down,
I can start to get a feel for the spaces around and earth work required
This shed will be raised on blocks like the other one besides.
But I still need to lower ground between and behind greenhouses
Next chop a few pointy sticks
Made my forms.
On this side I am using the sand bank as one side
Pouring concrete mix
Forms removed.
Footing is 4 inch thick, and about 8 inch average wide.
That was 9 bag of concrete mix of 25Kg ea, plenty of mass to anchored it
The other side I am using wood forms on both side,
would be a more even width
Meanwhile seedlings are coming out of the
first greenhouse and being transplanted
Once both footings are poured and set, will be able to finish levelling ground around it to proper depth.
Also planning a retaining wall on the north side (toward house) between greenhouse and trees.
The space in question between the greenhouse and the tree clump.
The metal shed floor frame, the only thing salvageable :-)
I kept for now to represent the future space occupy by her upcoming She-Shed (Potting shed).
The red pole is end of balcony (4 ft wide) for shed.
Shed will be move back a few feet,
a bit tight for tractor.
Yes, will take me a while to finish, but once greenhouse is operational I can move to other projects for a while... The original greenhouse will be stripped down and repaired before Fall.
I have started to gather material for framing both end. Have a 36 inch screen door for front (removed from house front door) the back will get an an aluminum 32 inch storm door from house rear deck (soon). Probably will end up making a 36 in door ??
Visualizing the door in its future location.
I intend to put 2 fans in both front and rear frames.
One on each side of door.
The special track and wiggle wires have arrived, we have the plastic left over from greenhouse No 1 but we may need more? She want to put down double layer with blowing air in between. Does not have to be air tight, they usually have small blowers continuously blowing air. Seen using bath exhaust vent for that purpose in my travels. Yes, we stop at all greenhouses and plants nurseries :-)
Meanwhile, at the request of a friend, I am starting to gather up my carvings and tools to teach her carving.
You are now up to speed on Casa Demers goings on
My grand kids figured out my battery life ... :-)
Bob, napping in between projects :-)


1. the form memory of those plastic cabinet is spectacular.
ReplyDelete2. What about (wire?) diagonal bracing for the new greenhouse?
Hi Sylvain.
ReplyDeleteI thought about using wire guy for bracing. I have a roll
of aircraft steel wires somewhere. But i don't think i will need it. Frame is solifly anchored in cement and very stiff, thicker steel than previous one and the pieces are bolted thru, so they cannot move.
All that to stay that wood framing on ends will also impart more stiffness.
Bob
All depends on the expected wind velocity (climate change?).
ReplyDeleteA triangle is much more rigid than a quadrilateral.
Then there is the option of the plastic being torn away more easily (sacrifice) to protect the structure.
I would rather loose a sail than a mast.
Je cherchais un moyen d'améliorer ma serre depuis six mois et je l'ai finalement trouvé.
ReplyDelete