Thursday, July 12, 2018

The first project coming out of Grampa's workshop

The first thing I wanted to set up was my small Delta scroll saw, the American boy .  Yeah, I know, there are Canadian girls but I'm sure they will like it too :-)

To do that I wanted to make some sort of portable base to fasten the saw on the bench or table.
Were we last left off, I had roughly saw a board made up of laminated maple boards.

My plan was to finished it by hand, but them Jean said she was coming home with them one day earlier. For me to finished that and still made progress in the yard, I figured better bring out the big toys.
So a quick trip to the wood shop on base, run my board thru the drum sander, rip the other edge on the table saw, then cross cut both ends on the Radial Arm Saw and done.
Took me longer to signed the keys in/out and clean up than doing the deed :-)

There is something that this bench have not seen in a long time... A board ready for planning.

Back home, I gave the board a chamfer on the top side, knocked off all  the sharp edges with a light sanding.

Figured may as well set up a 1/4 inch line all around to guide my chamfers.
Set up the gauge then score lines all around top surface and the sides

My board  had a tendency to flip up a bit in use so I immobilized it with a holdfast 

Did the ends first to removed the blow out at the edges

Gave it a quick taper to minimize blow out

Almost done my taper on all four edges

I'm using my LN No 65-1/2 block plane, set for a coarse cut

How coarse? I had no problems with either end grain or long grain, 
except that you quickly finds out which way it prefers to be planed :-)

Once done, I gave it a coat of my new favourite: Howard Restore-A-Finish


I know, It's not a stain, but a finish restorer, but I was curious to see how much colour it will impart on a raw piece of wood. I have both Golden Oak and Cherry, I used the cherry one on my maple board. Happy with the results.

Later on I gave it a coat of Howard Feed & Wax to somewhat protect it and make it look nice.

Drilled and countersunk three holes in my cross batten to act as a stop (think bench hook)
Screw the piece down by hand (Robertson) after drilling clearance holes in the board to avoid any splitting and also make it a lot easier to screw into hard maple....

A quick trim on the saw bench for the batten
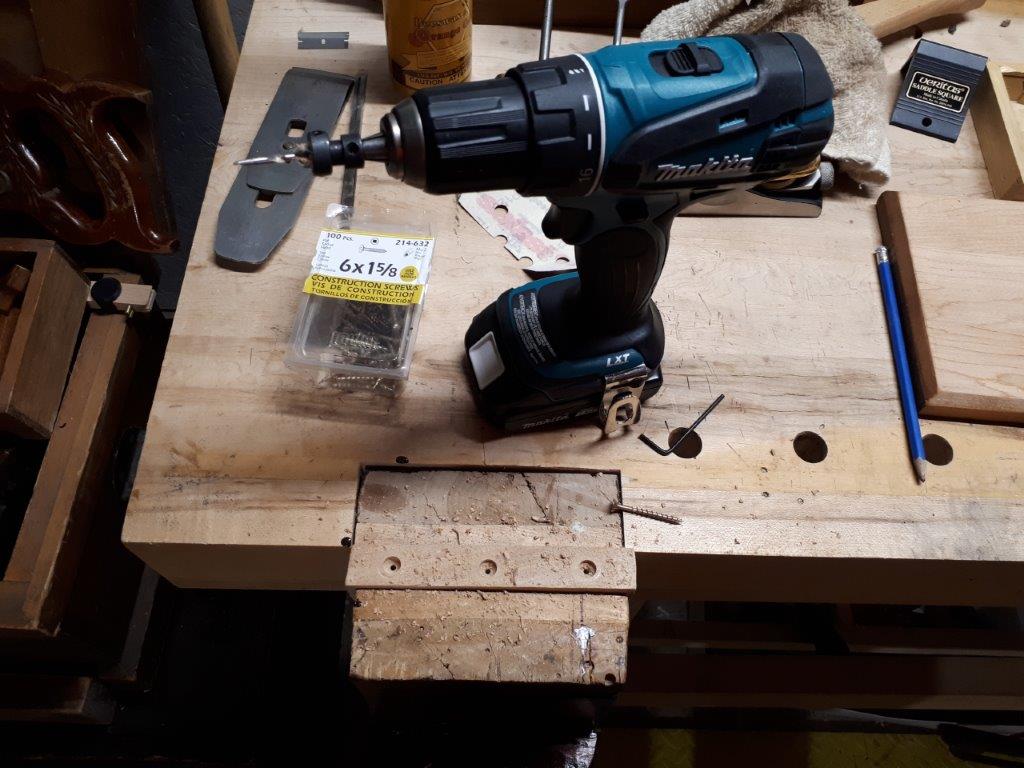

Drilled and countersunk

Fasten down.
No, I did not finished the underside of the board
nor did I glue the batten

Drilled four (4) clearance holes for the saw

Fasten it down in the vise

I wanted some flat round head slot screw, but only had Robertson tapered head.
Robertson are from 1909 so period correct for the saw which is from 1923

Thinking, maybe the vise is in the way for them??


Then tried also on the bench with a holdfast.

Works good, but will need another hole for holdfast,
 too close to your hands for my liking

Tried in a 3/4 inch piece of pine.

Works good, but worked a heck of a lot faster and better after a few quick shots of WD-40.  Would need to finish  cleaning and lubricating the tool better, but for now it is ready for the little ones to use.
And that is all that matter.
Will gather up some thinner material and patterns for them to play with.

Today when they get back, we will be making some sawdust together.

Now my next project would be to figured out some sort of platform/stools for raising them at the proper height.  6 foot Grampa is a bit taller than the younger ones, now 6 and 11 :-)

Meanwhile, continued to make progress in the yard

My big pile of branches is gone

The gardens started to be harvested.
We had spinach and radish, strawberries and the blueberries are coming along fine.
Much more to come soon. Oh and a black bear has been seen in the neighbourhood.
Not to worry, Grampa is a Vet and a marksman (with an AIM-7 :-)


Figured I could also set up my GRDFW (Grampa Rapidly Deployable Field Workshop).
You know, set up the Multi Function saw bench with the saw (s) outside on the deck??

Oh, so now I need some sort of tool totes, to carry tools in and out of the shop, and, and...
More projects, Yippee :-)

Grampa Bob, tired but excited to get to play in the shop with the girls.

Friday, July 6, 2018

Setting up Grampa's workshop

Well, with all that heat wave is bringing, my yard works is really slowing down.  Time to retreat to the shop downstairs and setting it up for the grand kids.

I just need to clear the floor, tidy up and set up a few human powered machines and voila!

There you go, floor is cleared, and the beam went to..??

Another good reason to get into hand or foot operated woodworking machinery, is that it is a lot easier and safer for the kids :-)

First up to bat was that 6X6 beam lying on the floor
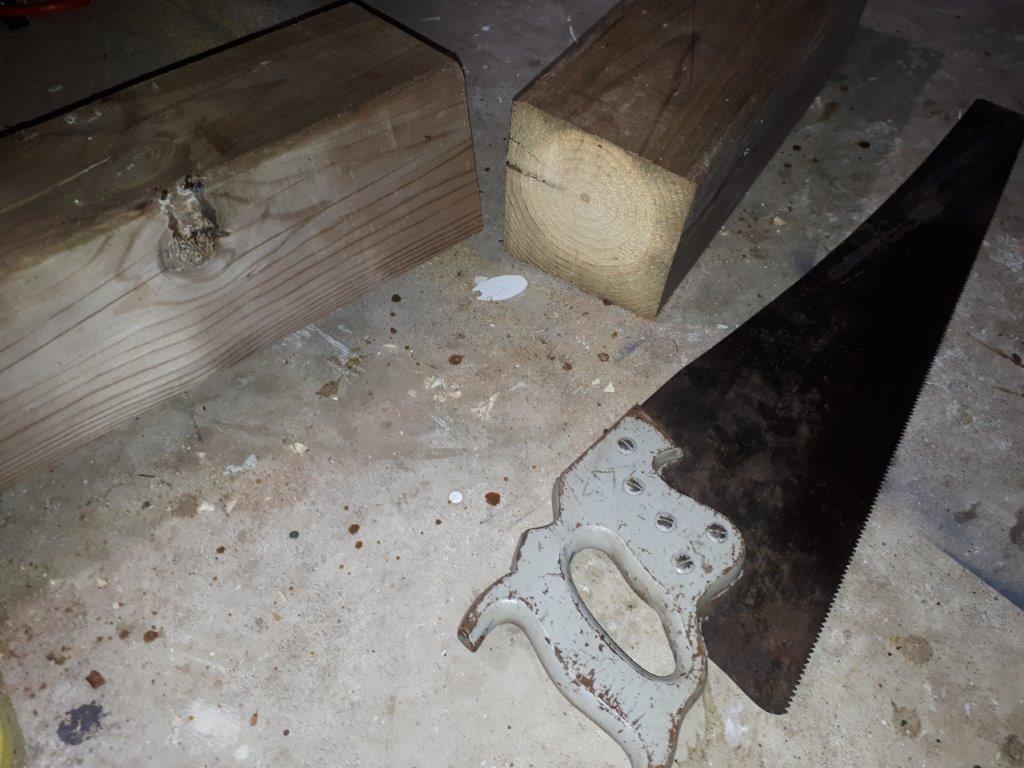
Took some quick measurements and cross cut both ends.  Hopefully I cut enough to get rid of some of the worse twist.

My first idea was to cross cut it using my circular saw, but I negated that because it would make quite a mess in my shop. I do not need bigger messes right now, thank you.
So I figured, lets go old school, using a Disston D7 cross cut saw

Tracking pretty good

And done. According to my phone time stamps, 
that took about 1 and a half minutes. Not bad

Cutting the other end

Nice square cuts, effortlessly.
A well sharpen and set saw is a lot easier...

And what about less messy?  Well, it may had been if I did not steps into the saw dust piles and track it everywhere… it seems... Oups!

That done, it was easy to prop up the beam by myself, my measurements paid off

First location I tried.
Too close to the door

Where it is located from previous pic, have room to move it 
on the other side of joist blocking

Where it is currently moved to.
I like the clearances around it

And it is boxed in between the floor joist and the blocking piece.
Should be plenty strong to hold on. The deep slot in the bottom cement block 
makes it pretty secured as is, but will of course fasten the top with lag bolts or something

Well, once clamped on top, the bottom of the post twisted inward to the left
But there is enough of a flat surface on the side I need (RH)
Will see when I test fit the backboard

Next up is to move the Post drill from the garage to... eventually the shop in the basement.
I would like to strip it and repaint it, lubricate it and yadi yada but I want to set it up pretty well as is, it is after all in good working condition.  So for the sake of expediency, I am simply going to take it out and address a few issues., before hanging it up

Can you see it??

Yes, that back board has developed quite a bow introducing twist

Will make a new board for it out of a piece of 2X6 or 2X8

The back board was fasten to a post by two lag bolts on top, and...

One at the bottom.  May be I'll put two at the bottom also 
to prevent or minimized further twist (??)

So for now, I will take it off its board, do a quick degunking/cleaning with Krud cutter (outside :-)
Maybe this week-end ??

I will source or make a large container to gives the parts a soaking in Evaporust later on.

Up to bat next was my little scroll saw from Delta. That should be lots of fun with the kids, but in order to use it properly, it need to be secured down.

Found a leftover piece of glued up maple of a suitable size.
Again, my first thought was to run to the base woodshop and quickly crosscut it to size on the table saw.
BUT, again, keeping with the theme :--) decided to cleared the saw bench and went at it with a Disston D8 ripping beast. Not the fastest in hard maple but it made quick work.
Did not bother with lines, just quick scribbles on the board and saw...

Well, I'm pretty sure a line would had been a good thing caused I went out in La La Land and veered off. OK no sweat (said the man in a 32C workshop), I will just comes in from the other side and a quick plane pass would erase all...

Well, not really, quite a la la land distance

OK, screw it, just split the difference :-)

I may be blind but I can follow a line blindly, without any line... all bets are off :-)

I want to screw in a batten on the underside, so I can secured it in my leg vise or on top of the bench with one holdfast

Screw to that piece of wood, it should be less prone to tip off.

Found a suitable piece of hardwood for the batten


But that is were I quitted, the humidity is getting to me and I'm running out of clean T-Shirts...

Next I would love to find a foot or hand operated mortise machine, a pedal powered scroll saw and such :-)

First project for now in Grampa's shop would be to make or find some proper stands for the little ones to stand on at the proper height at the bench and drill press and so on.

And since I made my Super HD saw bench as a mortise, drilling and  etc. bench, I should be able to let them work on it more easily. It is currently resting on removable shoes, since I have yet to settled on a "proper height for me".
Translation: When I built it, I goofed and somehow transposed the height as 16 inches instead of my planned 19 inches... Oups.  I simply add a pairs of shoes under to raised it, but I found that I can work at 16 without much problems.

Bob's Grampa workshop, opening soon


Monday, July 2, 2018

Guess what?

That's right, I have been cleaning up the yard, ever since Dennis dropped all these trees on my property.

Can only burn on prescribed days at prescribed time.
That was our first and only fire so far

The weather is now finally summer hot, we have a system stalled above us which is bringing hot temps, day and nite. We have Humidex and heat stroke warnings, for the week. Temp today was 32 with a humidex of 36 C and its going to stay for a little while.
Ken would call that winter weather for his neck of the wood, but for us SkiDoo lovers, it's hot en Tabarnack!!

Inside joke for Ken
Picture a hoard of these coming over  :-)


One of the two maple logs I kept

The tree stump is still oozing out sap, the whole top surface is saturated with it.
That is why normally trees are fell in the winter when the sap is dormant (at its lowest)

Rounding up the logs from around the yard

And some more

I find it very impressive that Dennis cut all that
 from tree standing to this pile of logs in just a few hours.
Took me longer to assemble this pile :-)

Those two Norway maples had their bark infected with that tar spot virus.
See the black on that log

Because the sap was running when it was cut, the bark will separated from the log as it dry. 
Notice the bark and the log don't evaporate the free water at the same rate, causing the bark to crack

The variety of size in my pile


Between my age, my back and the temps I am forced to work mostly early morning, before it gets too hot. And even then, I have to pace myself.  I am no Spring chicken no more … apparently


The pile I have tonite.
All the tree tops and branches on my lawn have been stripped.
I'll check if I can burn tonite??

Between stops were we go on a road trip to visit friends, instead of me slaving away in my yard, its progressing good, I can see the light at the end of the proverbial tunnel.

That has been occupying all my time and then we have the grand peanuts over for two weeks.
So not much progress around my shop lately, except that I am still getting it ready for the little ones.
We should play in it soon :-)

Ruby-Jean brought her puppy dog to play with Rudy

Rudy is not quite sure what to make of it.
Should I tear its ears off or just lick it??


Bob, who gets around thanks to Voltaren Emugel.
Oh, Babe, I think we need the Costco size... :-)